As a portrait photographer I can be endless about how important it is to record those very special moments in your life and none is more significant that the birth of a newborn baby.
As we head through the uncertain times with COVID-19 and with the advice from the Government to stay indoors and distance ourselves I thought I would share with you some hints and tips on how to create your own newborn photographs.
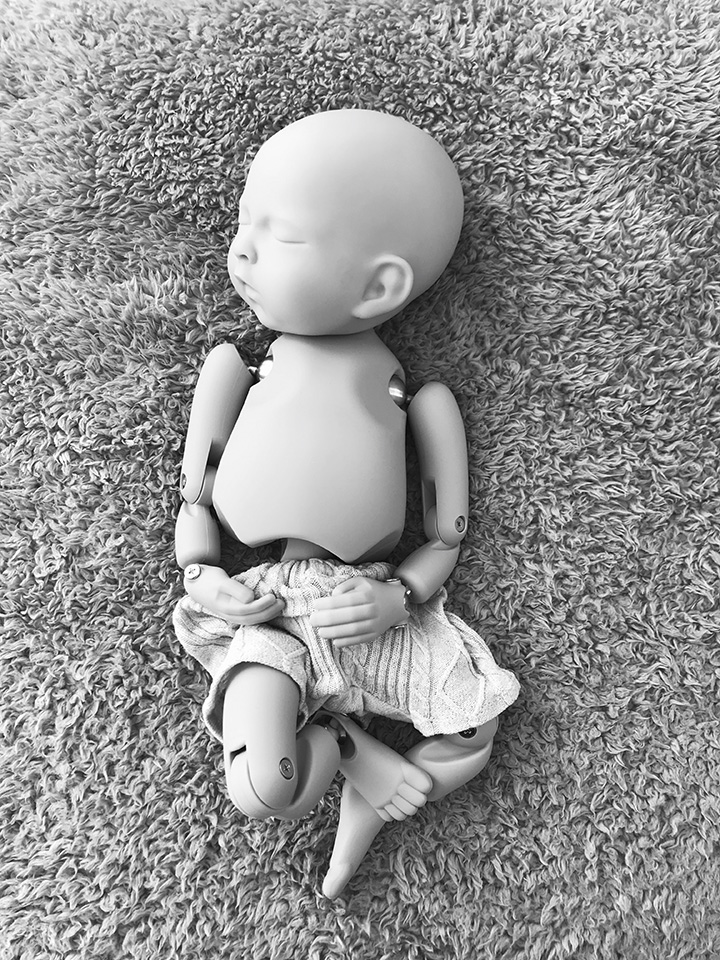
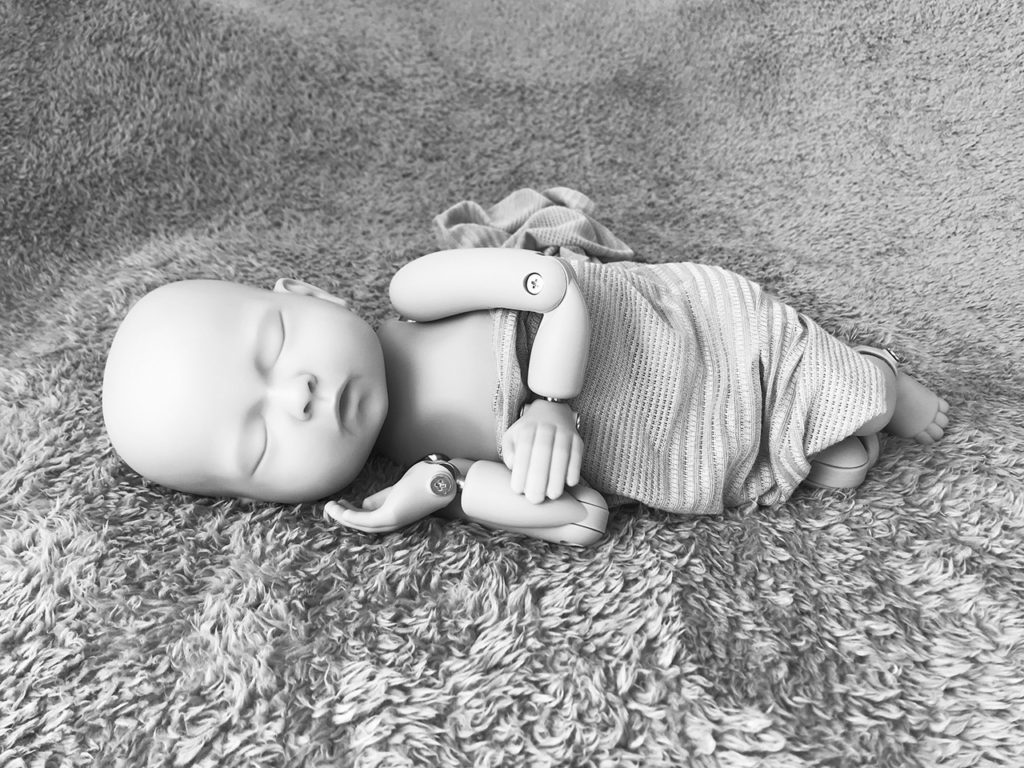
I know these wont be the same as ones produced by a professional studio based photographer but these basic images will still give you a timeless record of baby and how tiny they are. All the images I will show you below were taken with things I have in the house, using my very own baby model Star and were taken and edited on my iPhone. If you follow the details below I am confident you will be pleased with the results.
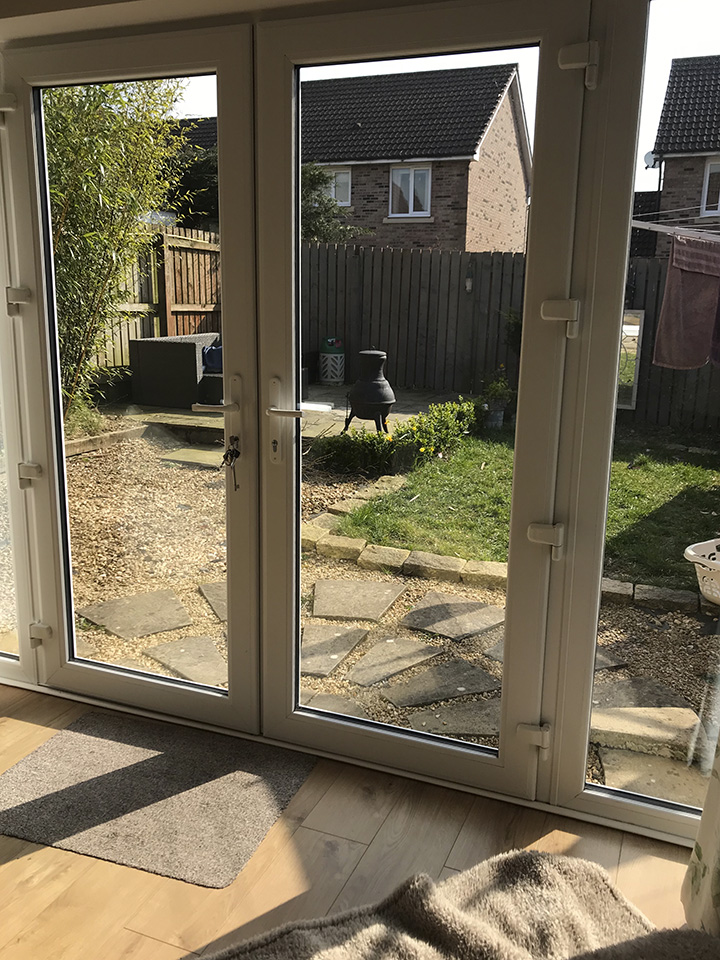
My first tip is set up as close to your light source as possible, I used my patio doors, but a window is also fine. What ever you chose as your light source just make sure to avoid the harsh direct sunlight (see the dark shadows from the door frame) I placed my set up just to the right of these doors where the light was still bright but not harsh.
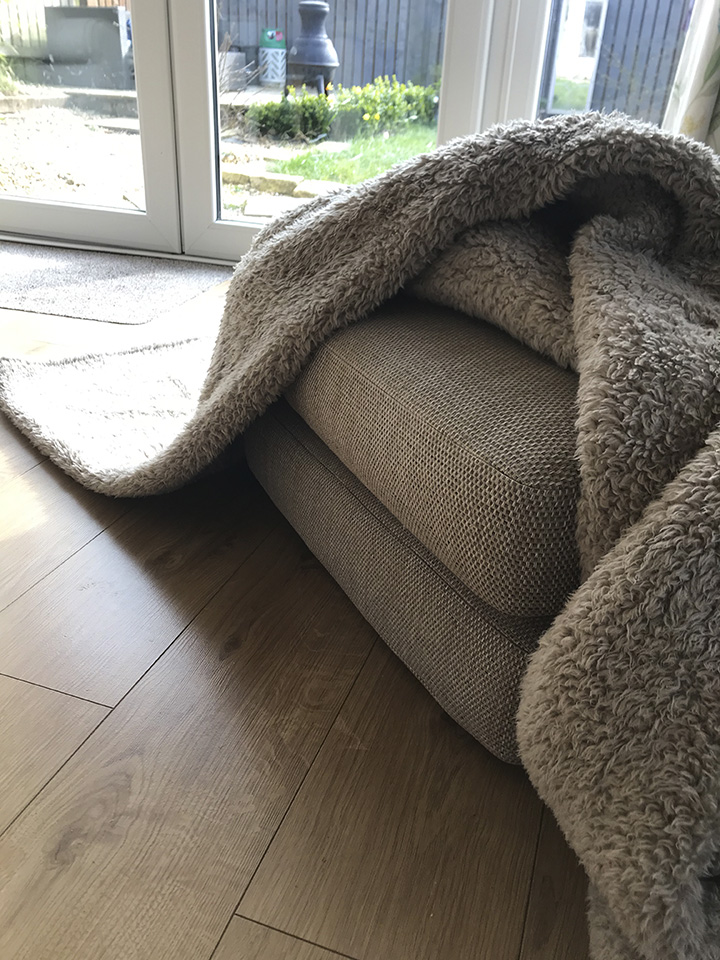
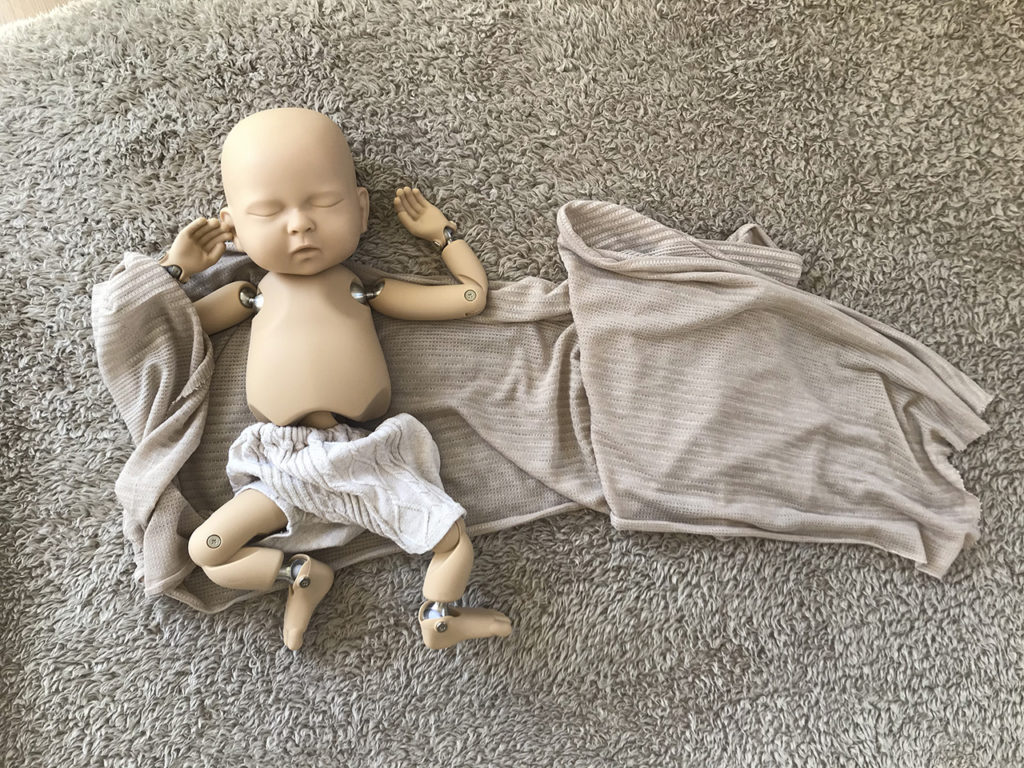
The next thing to do is find something suitable to lie baby on, I used two seat cushions from my sofa but a large beanbag or footstool or even a double bed would also work well. What ever you choose cover it over with a large blanket or duvet cover, keep it plain and simple. I used a large ‘teddy blanket’ which usually sits at the foot of my bed. Also be sure to move anything distracting out of the way, cushions, lamps etc as you want the images to be all about baby. A top tip here is to look at the edges of the image as this is undoubtedly where there will be something that once you notice it will be very obvious!
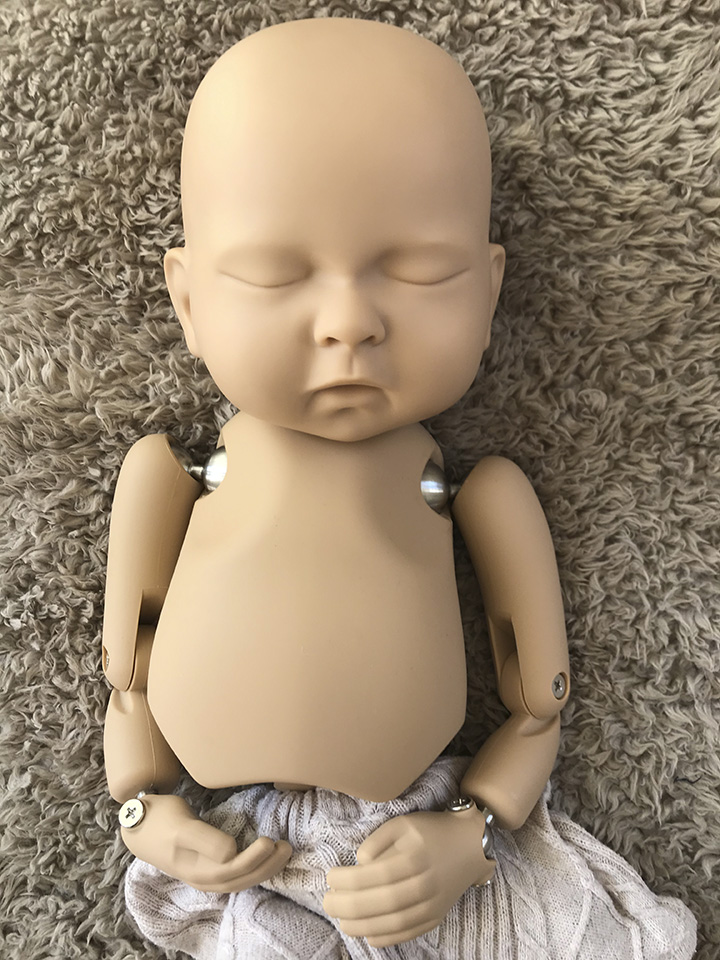
Prepare baby…
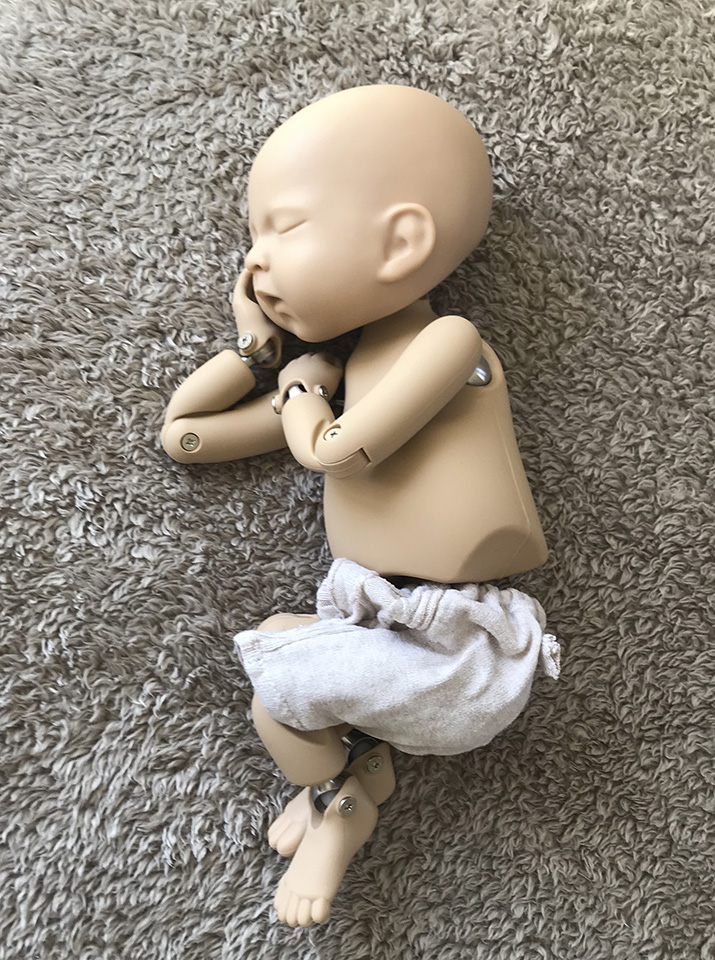
You want to be able to easily capture all the images without disturbing baby too much so have everything to hand once you have chosen and prepared your ‘shooting space’. In the photographs I used a wee pair of shorts and a scarf but you could add in a hat, hairband, teddy or a special blanket to make the images more personal. Nappies don’t look nice so cover them up with a wee pair of shorts or nappy cover, avoid bulky clothes and things around the chest and neck area as these will hide how tiny baby is. Please make sure you have everything you need to hand and do not leave baby unattended on a raised surface – even after photographing hundreds of babies I am still amazed by how far and quickly they can roll and move!!
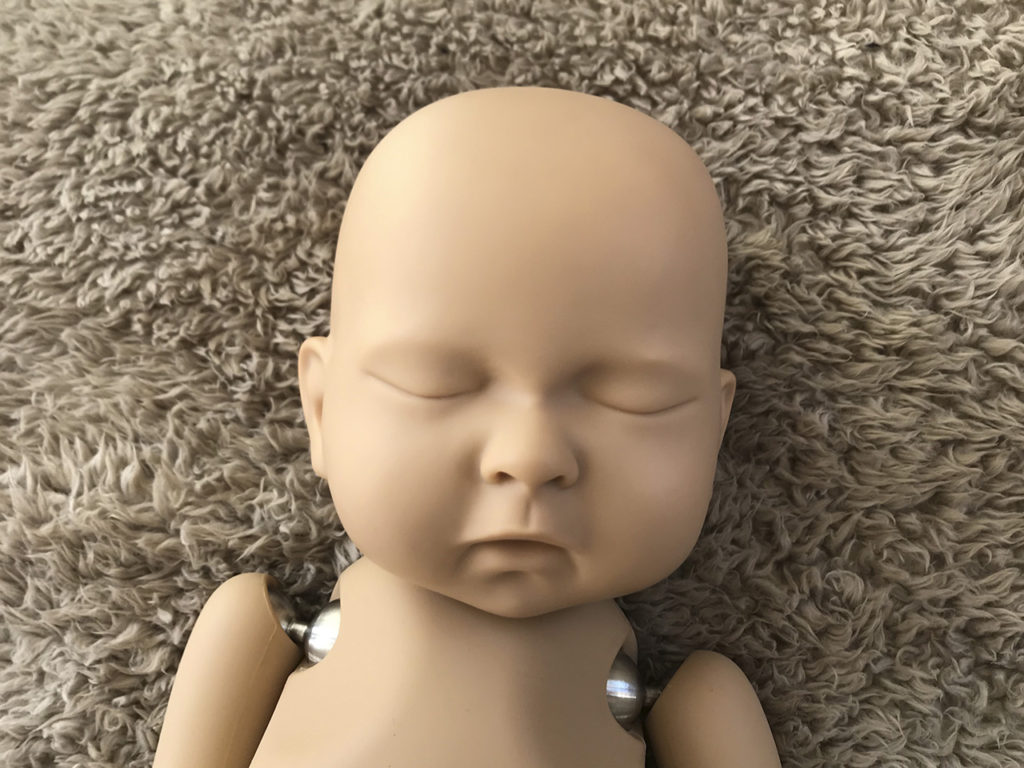
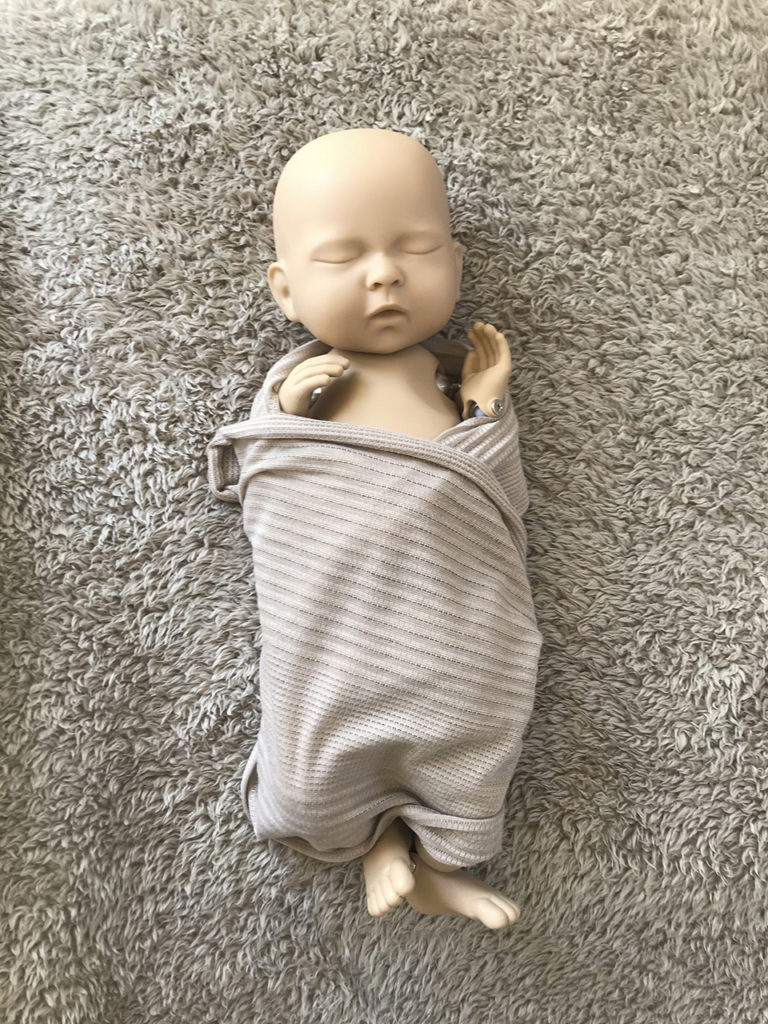
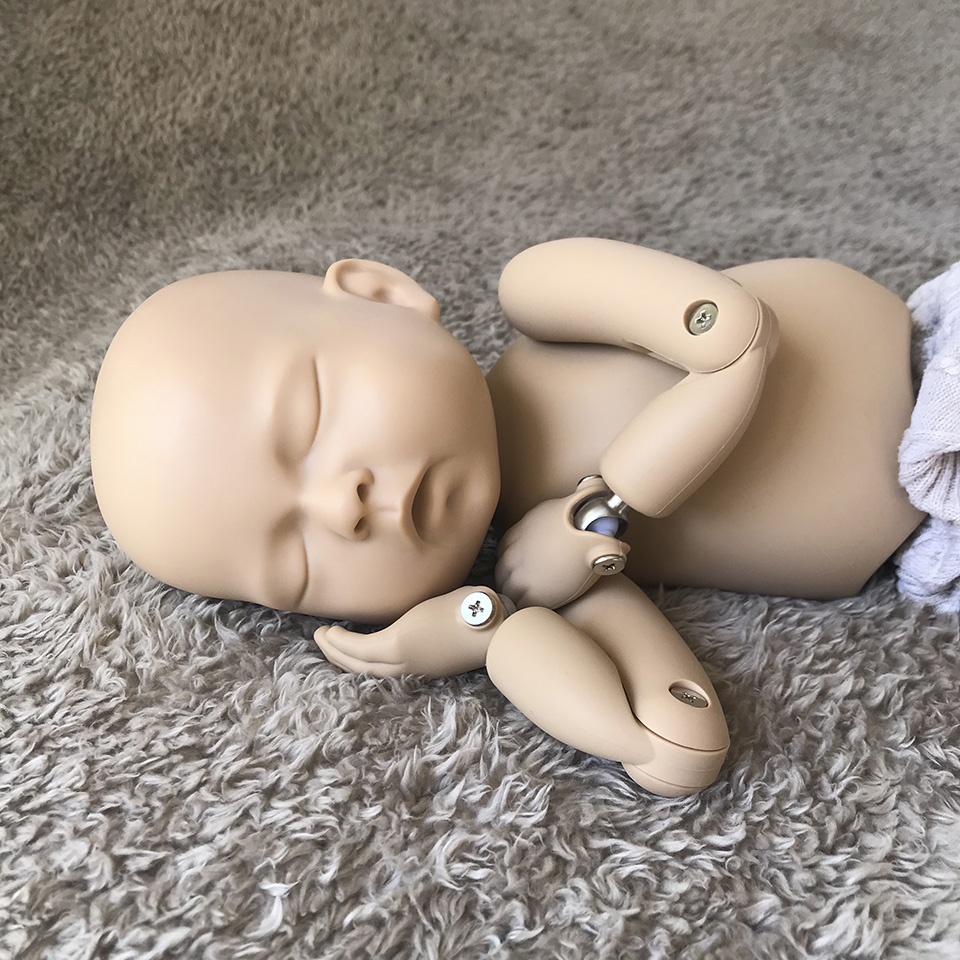
First set of images – lie baby on their back with the light to one side and photograph from directly above them – make sure to avoid shooting ‘up the nose’ we don’t need to remember their bogey’s… :)) Make sure to come in close as well to capture all those beautiful details!
This would be the time to add in a toy if they have a special one but again be mindful you don’t want it to dominate the image or become distracting.
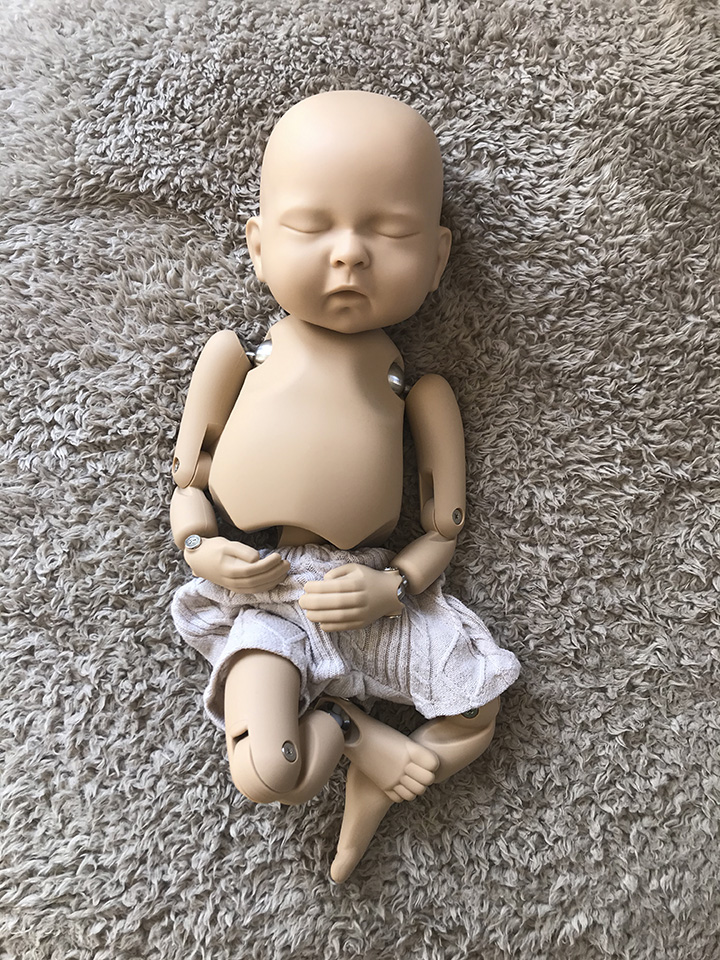
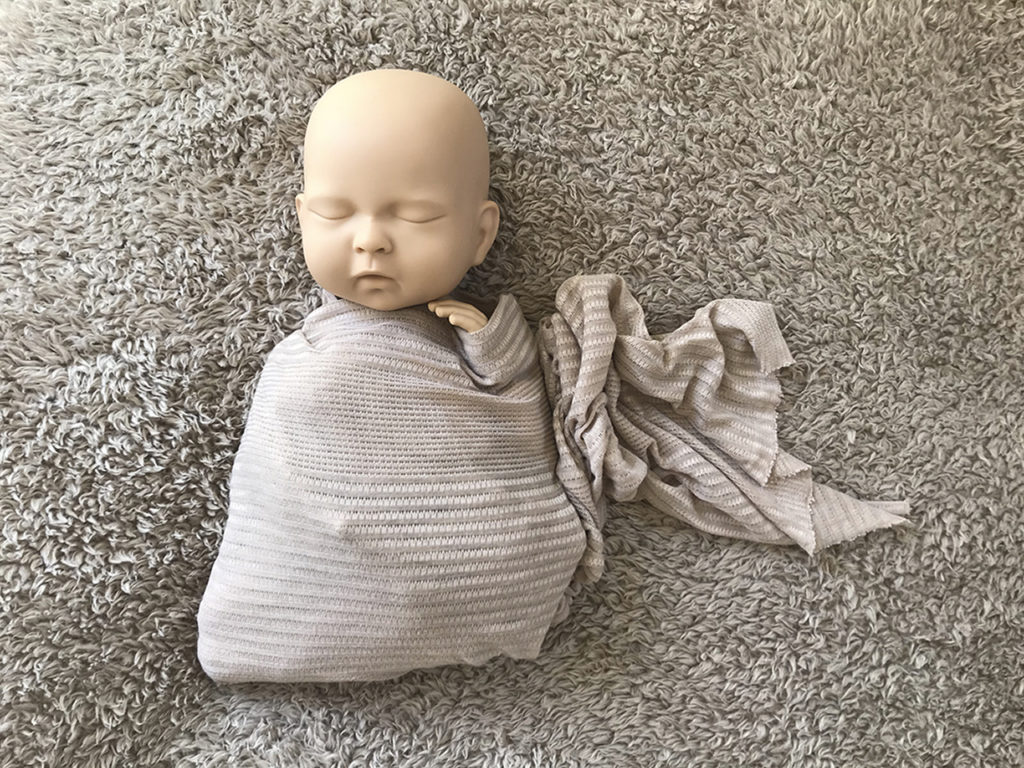
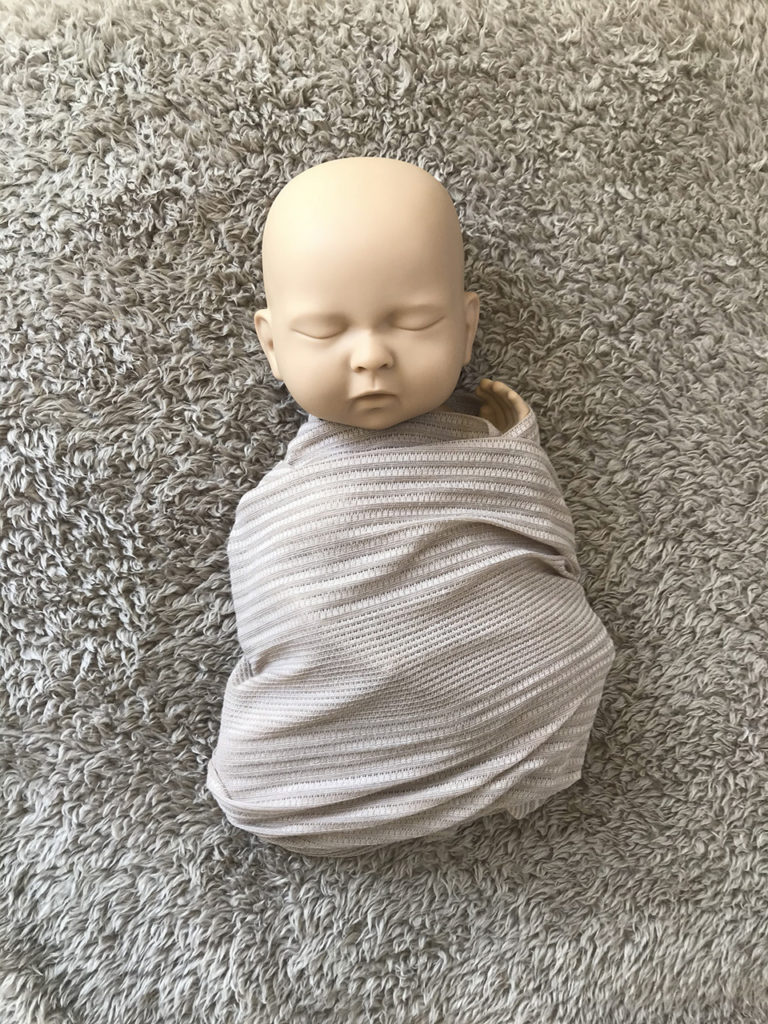
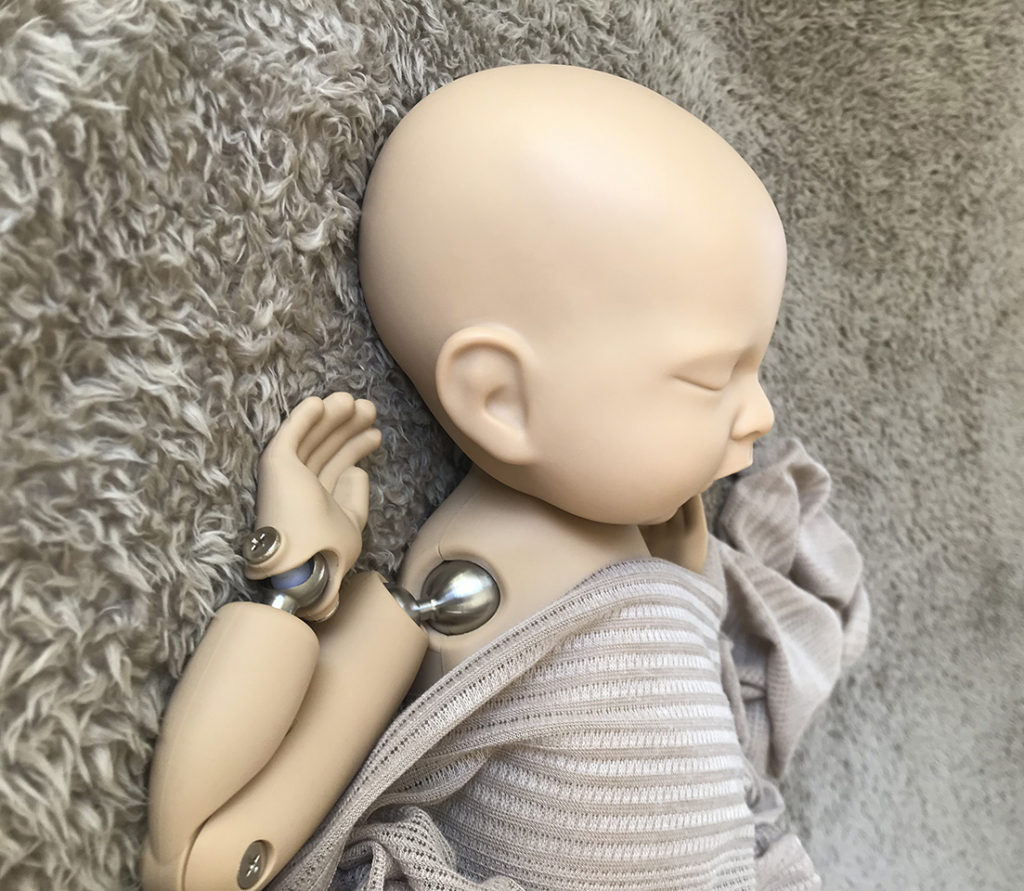
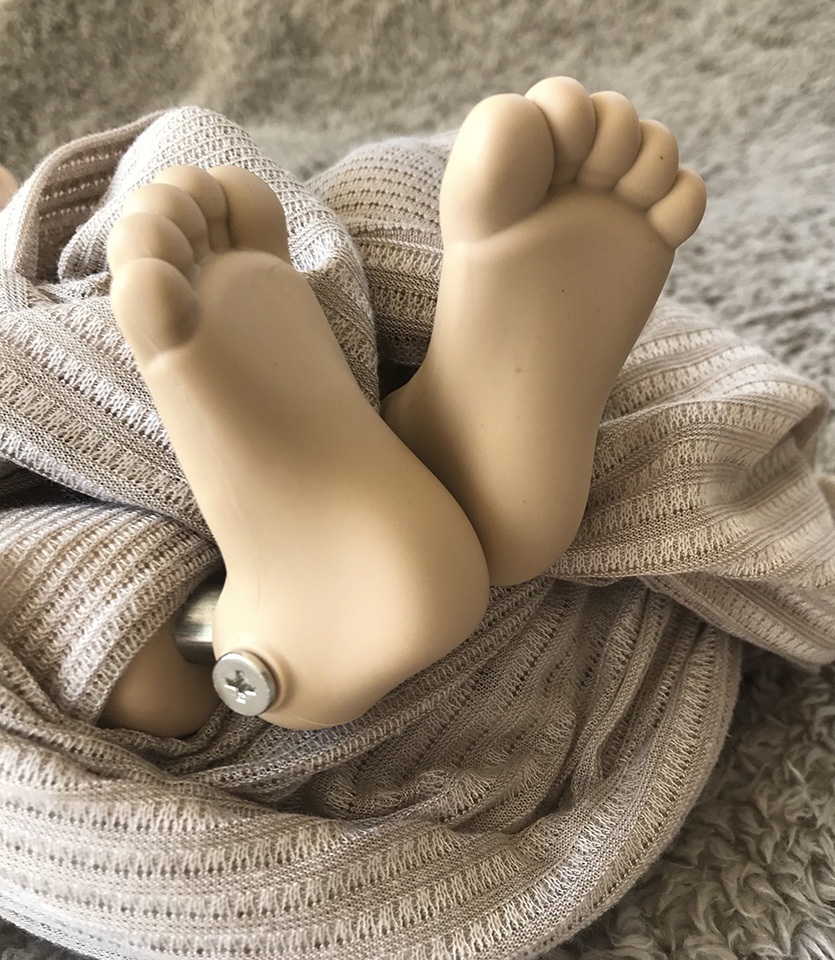
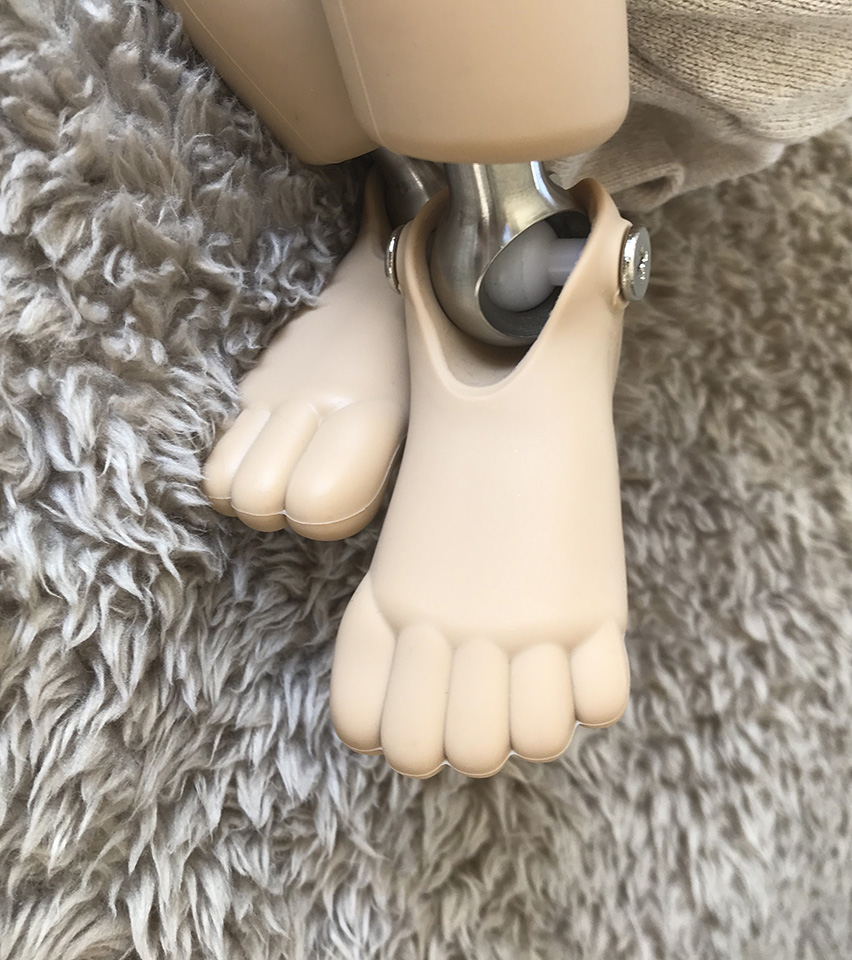
Next up wrapping – its not always easy, take your time and let baby show you where they naturally lay their hands, either across their chest or tummy. Don’t worry too much about the wrap being perfect a good way around it is to tuck any loose fabric under baby once you have laid them down again. And don’t forget the feet they are such an important detail!!
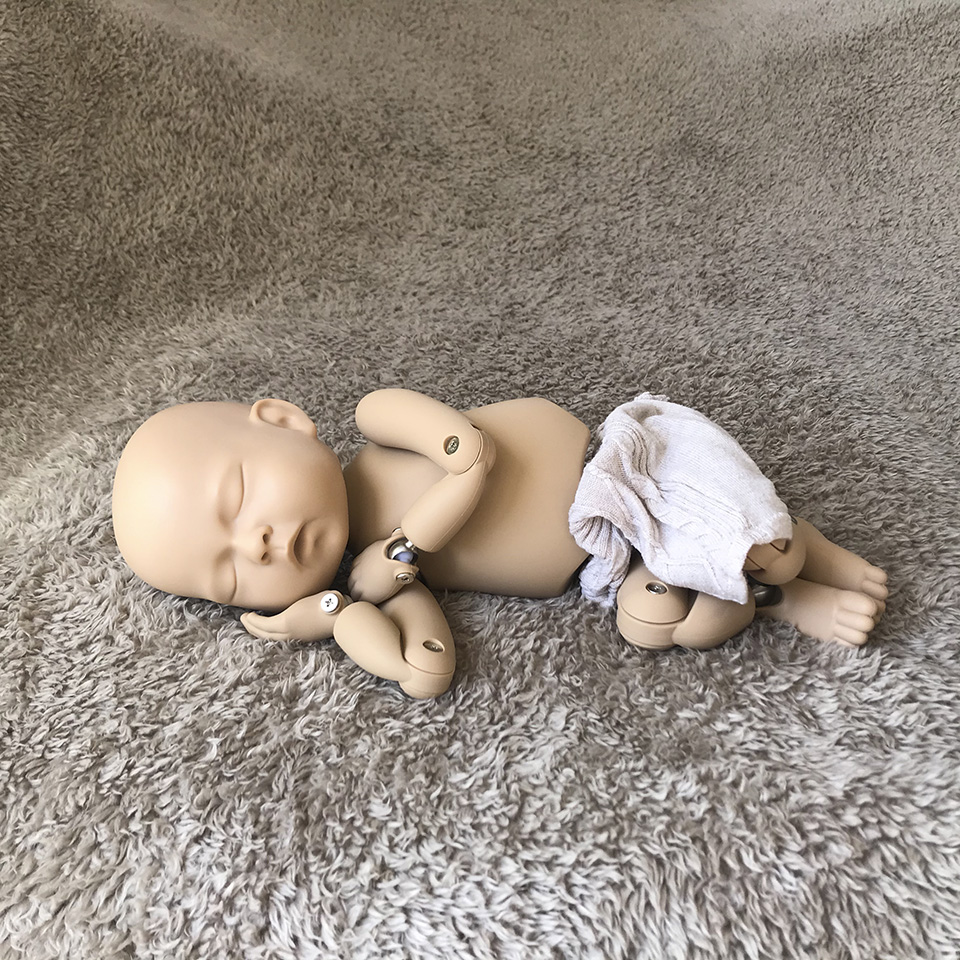
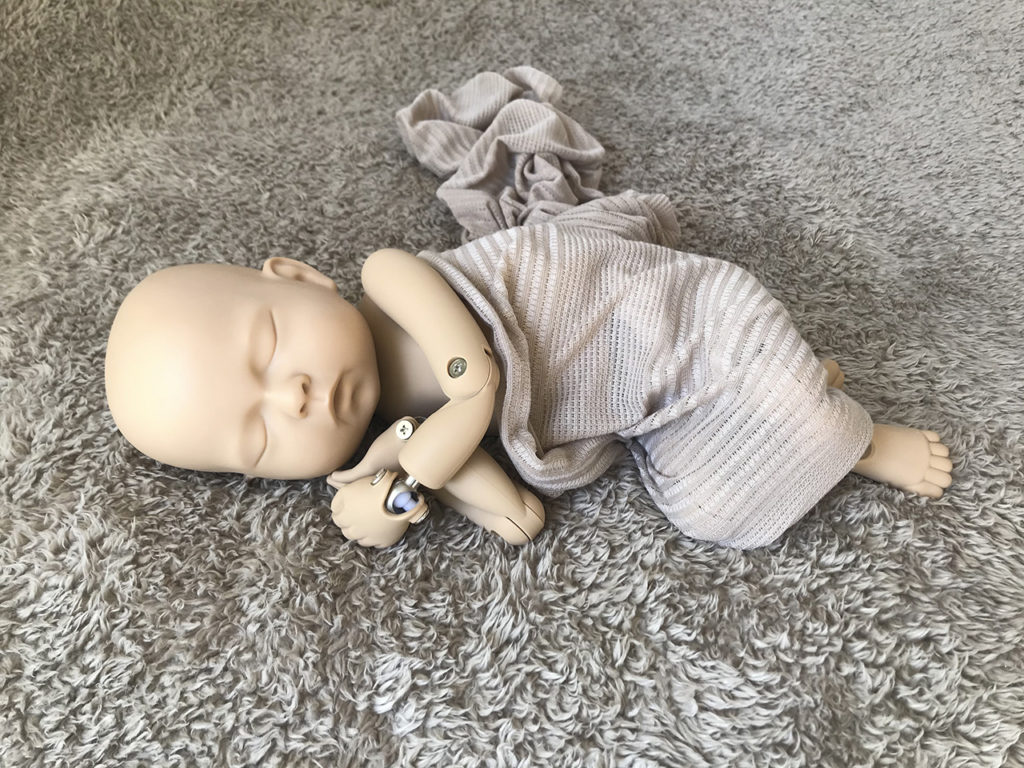
Side pose – With this pose baby will be lying on their side with the light falling from the top of their head down their body. When you lie baby on their side make sure their hands are comfortable at all times, sometimes they will automatically move them up towards their face just be mindful of this before you take your image – you don’t want a hand covering the face. Please don’t leave baby in this position for too long and if they are lying on a hand keep an eye out for colour changes (this can happen very quickly) if it happens move them immediately!
Again use your scarf, hats, headbands or blanket to drape over baby to change up the image.

The last thing to do is edit your images, you can adjust the brightness, crop or change to black and white. I just used my phones editing facilities for ease but there are lots of free software options available. Just be careful with filters, what you are hoping to achieve is a record of baby as they are at this time and most filters change the tones of the image which will affect babies skin colour.
I hope you enjoy taking these images with your baby. If you would like to have professional photographs taken the next major milestone happens about 12 – 16 weeks when baby starts smiling and holding their head up and after that sitting up is a beautiful stage to capture!!
Fiona x